Following the tutorial, I bought the correct zipper size and with pins, marked where the zipper starts and stops.

Again, using the tutorial, I sewed a temporary stitch (hard to see in the picture). This will be your guide to help sew your zipper in straight and will be removed after you sew in the zipper.

Using this temporary stitch to help guide me, I pinned the zipper in place.

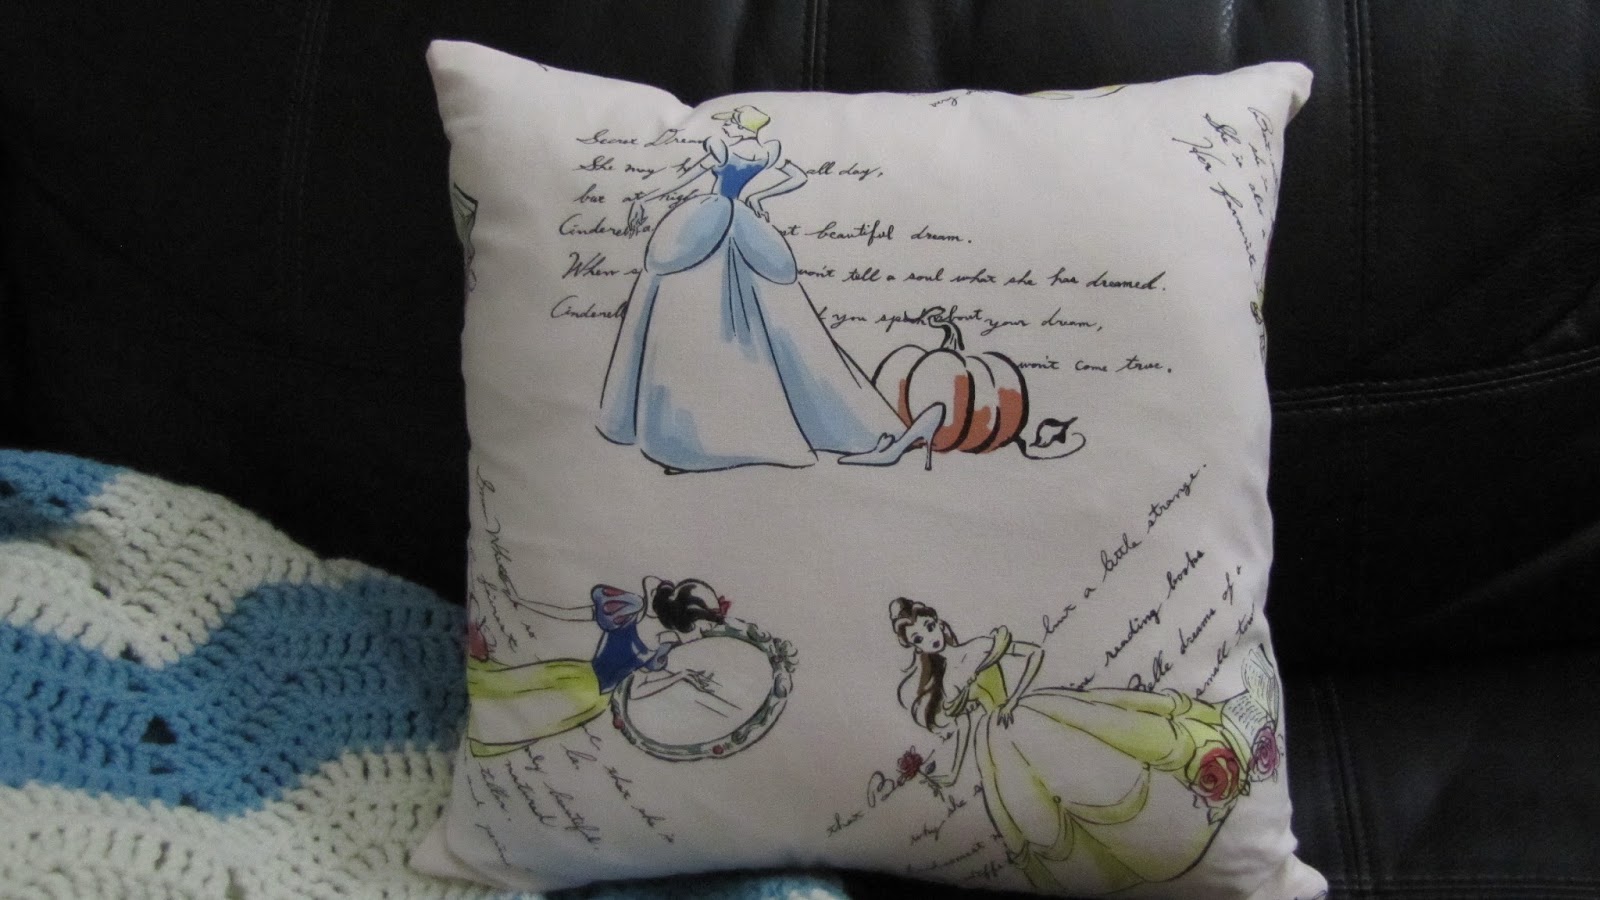
I don't have a zipper foot, but was able to make do with a regular foot. However, it would be ideal to use a zipper foot as it makes it easier to sew around the zipper teeth and zipper pull - so I will be getting one for future projects. Once I finished the rest of the pillow cover, I just turned it right side out & slid in the pillow form. Voila!

If you were ever on the fence about trying to make a zippered pillow cover, I suggest you try it. It's really easy!

Posted by Adventures in DIY


Using this temporary stitch to help guide me, I pinned the zipper in place.

I don't have a zipper foot, but was able to make do with a regular foot. However, it would be ideal to use a zipper foot as it makes it easier to sew around the zipper teeth and zipper pull - so I will be getting one for future projects. Once I finished the rest of the pillow cover, I just turned it right side out & slid in the pillow form. Voila!

If you were ever on the fence about trying to make a zippered pillow cover, I suggest you try it. It's really easy!

Posted by Adventures in DIY
No comments:
Post a Comment
I would love to hear from you. Feel free to leave a message below - I will respond back via email, but if you have a no-reply or don't leave an email address, then I will reply below your comment. Thanks for taking the time to visit and commenting! It's much, much appreciated.